
Botanical name : Apium graveolens
Common name : Celery, Celeriac, Leaf celery
Intermediate difficulty for seed saving
Lifecycle: Biennial
Pollination: Insect pollinated
Mating system: Perfect self-fertile flowers in umbels, although pollen is produced by each flower before it is receptive meaning multiple plants are required for good pollination of all flowers
Suggested spacing: 60cm
Seed specific requirements: Vernalisation period required for flowers and seed to form
Isolation distance: 250 m
Population size: 20 or more plants
Seed maturity: Seed turns from green to brown when mature
Processing method: dry threshing and winnowing
Expected seed viability: 5 years
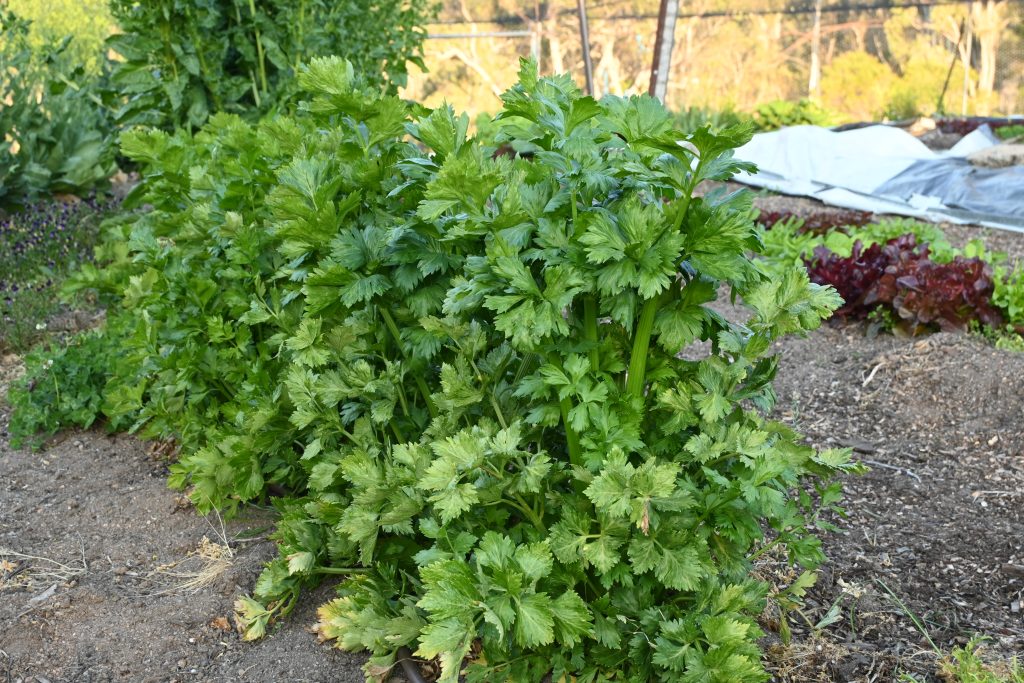
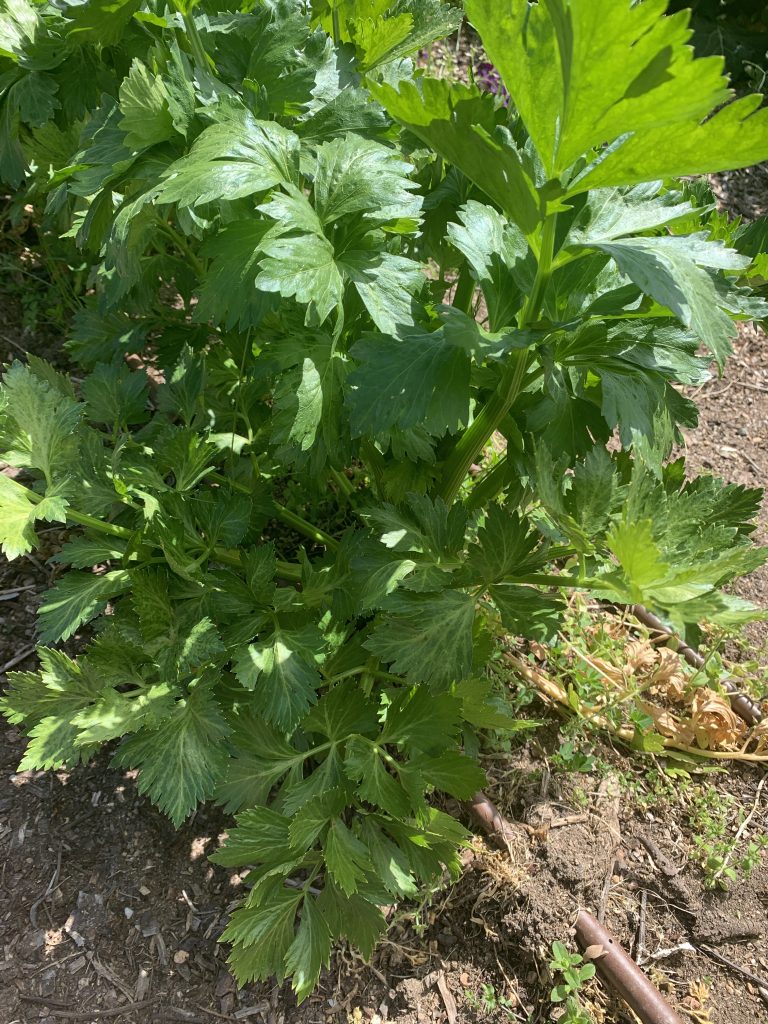
Growing for seed
Like other biennials flowering is initiated by a period of cold. Temperatures under 10 C are needed for most varieties. In Australia celery and celeriac can be simply overwintered in the ground in most locations.
Sowing of the seed crop should be done before late summer so that the plants can reach maturity before vernalisation. Seed takes a fair while to mature so expect the plants to remain in the ground until at least the middle of the following summer before the seed is harvested.
Varieties of celery and celeriac must not be allowed to flower at the same time as they are likely to be cross-pollinated by insects. A minimum isolation distance of 250 m between flowering varieties is suggested. Bigger distances may be required in some cases.
The flower stalks of celery and celeriac can reach about 80 or 90cm tall. However they don’t usually require extra supports as they are smaller plants than many others in this family.
Selection
For celery the selection criteria includes vigorous growth of new stems, tenderness and lack of bitterness in stalks as well as not bolting to seed until late in winter or early spring.
Celeriac roots can be dug up and inspected in a similar way to carrots, parsnip or beetroots. Selection criteria should include the size and shape of the root as well as the number of fibrous support roots.
Harvest
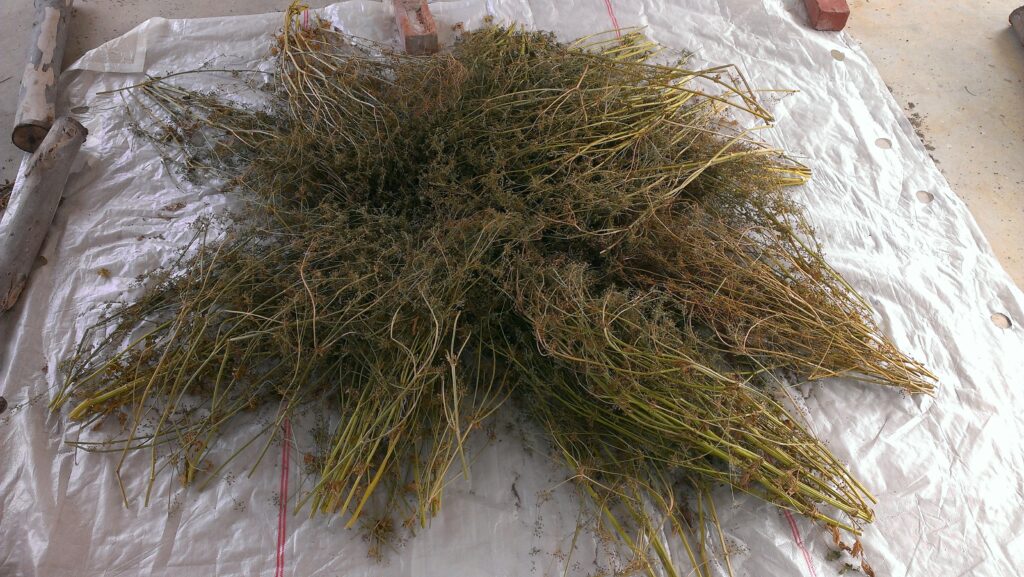
The many umbels of seed from each plant will mature successively over time, which makes harvesting entire plants for seed tricky. As the seed matures it turns from green to brown. Once mature it is easily detached from the plant and will fall into the garden if not harvested promptly.
Regular checking and harvesting individual heads as soon as they are mature will likely produce the best results. Whole plants or branches can be cut when about 60% of the umbels are ripe. The cut material can be laid on tarps in a protected area to dry.
Processing
Processing the seed is relatively easy as the seed freely detaches from the plant when mature. Threshing the seed by either walking on the cut plants or beating the stalks will see the mature seed quickly dropping onto a collecting tarp. Seed can the sieved and winnowed to remove unwanted frass.
Storage
After processing it is a good idea to keep the seed in a paper bag in a dry location for another few weeks to ensure that any moisture being held in the seed by the plant material has a chance to dry off.
There is a fair likelihood that insect pests will have laid their eggs in or on the seed. To stop them in their tracks one of the easiest methods of control is to freeze the seed for a few days. To do this the seed must be absolutely dry first. It then must be placed in a sealed airtight container – like a glass jar – and left in a freezer for 48 to 72 hours to kill pests and their eggs.
Seed is best stored in an airtight container where it is dark, cool and dry.
Contributors
Liz Worth, Nellie Pryke